1
Company information
- Add your account name. This will be the name displayed in Dashboard and on your labels.
- Add your account URL. This is the main public URL for your account.
- Add your shipping policy URL. This is the URL to your own shipping policy, if you have one. This can be left blank.
- Select your ecommerce platform.
- Select the type of products you sell the most.
- Enter your EORI number, if applicable.
- Click Save.
2
Filing entity information
The following section is only needed if you use Zonos Checkout. If you do not use Checkout, you can skip this step.
- Add the name of your filing entity or check Same as account name if the name of the filing entity is the same as your account name in Dashboard.
- Add your EIN number.
- Add your entity's address, or check the box Entity address is the same as store address if applicable.
- Click Save.
3
Store address
- Add or update the address for your store. If you have multiple locations, use the main location of your store. You can add other locations as warehouses later.
- Click Save.
4
Email-from address
This email is only used if you use Zonos to send emails to your customers. Zonos will use the email address supplied as the from address when they send email notifications to your customer, so it looks like the email is coming from your business. It is typically used for Checkout integrations, since the ecommerce platform usually sends emails to customers when on the Zonos Landed Cost app integrations. To tell us which email address to use for these notifications, and to give us access to use it, follow the steps below:
- Input the email address you would like us to use as the sender for email notifications to your customers.
- Click Save.
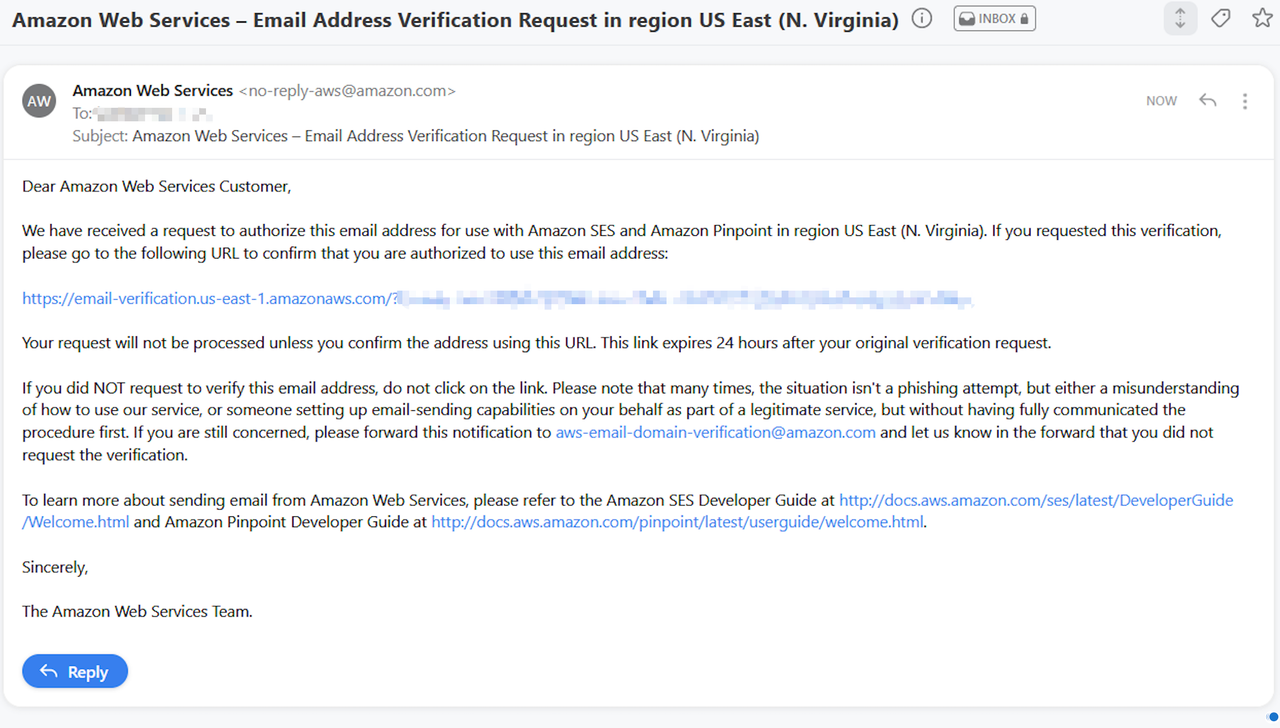
- You will receive an email to that email address' inbox. The email will be from Amazon Web Services (AWS). Follow the link in the email to verify your email address. The link will expire after 24 hours. If the link has expired, add your email to Dashboard again and click Save to send a new email.
- Once you have verified your email address, a banner will appear in Dashboard where you input your email, confirming that your email address has been verified.
Example AWS email
General settings
Add or edit your company information.Stores can manage their account information, such as company name, URL, and shipping policy within their general settings. Other settings include adding filing entity information, store address, and an email-from address for customer notifications. To add or edit your general settings, go to Dashboard -> Settings -> General and complete the fields as outlined below.